Table of Contents
Introduction
Author Notes
There’s something magical about a perfectly baked cake. The rich aroma wafting through the house, the joy of slicing into soft layers, and the indulgent bliss of the first bite. For generations, cakes have been at the heart of celebrations, and one cake that stands out as a showstopper is the Neiman Marcus Cake.
Known for its dense, gooey texture and buttery sweetness, this masterpiece is legendary among home bakers. Whether planning a holiday gathering, looking for the best chocolate cake, or simply craving a decadent dessert, this homemade cake recipe is a must-try. With its luxurious flavours, it’s bound to make you the talk of any gathering!
If you’ve heard of this Neiman Marcus Cake but have yet to attempt to bake one yourself, you’re in for a treat. This blog will guide you through an easy-to-follow Neiman Marcus Cake recipe with preparation tips and creative variations.
Key Takeaways
- What makes it special? The Neiman Marcus Cake is buttery, gooey, and blissfully rich—perfect for any celebration or dessert table.
- Who can make it? This recipe is beginner-friendly and great for seasoned bakers craving a decadent dessert.
- Versatility: Not a fan of chocolate? No problem! We’ll explore substitutions and variations later in the post.
Neiman Marcus Cake Recipe Details
Ingredients with Amounts
Here’s what you’ll need to gather to whip up this crowd-pleaser:
For the Bottom Layer:
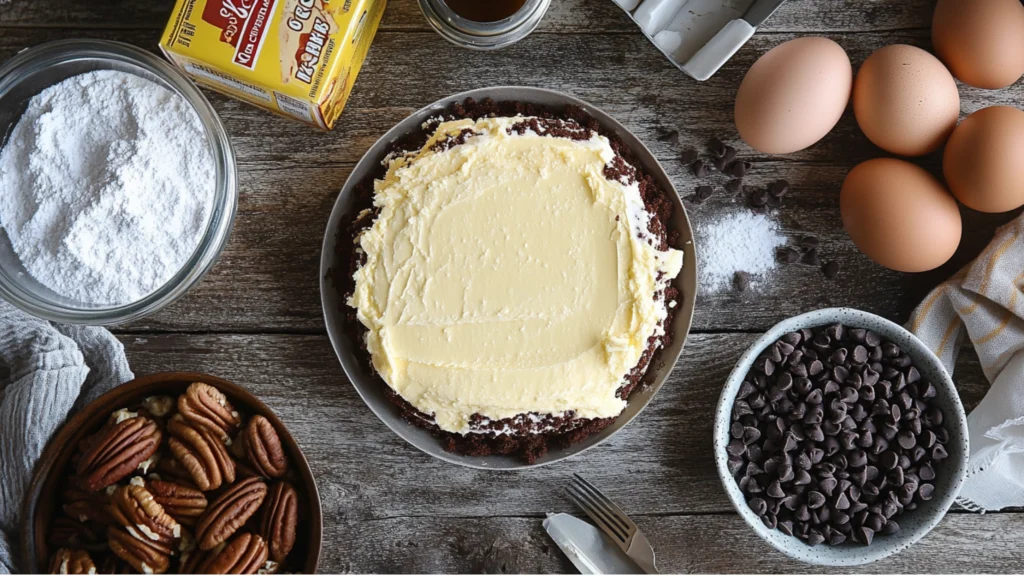
- 1 box yellow cake mix
- 1 stick (0.5 cup) unsalted butter, melted
- 2 large eggs
For the Top Layer:
- 1 package (8 oz) cream cheese, softened
- 2 large eggs
- 4 cups (1 lb) powdered sugar
- 1 tsp vanilla extract
- Optional: 1 cup semisweet chocolate chips or pecans for topping

Preparation Steps
With all your ingredients ready, it’s time to jump into the fun part—cooking your Neiman Marcus Cake!
Step 1: Preheat Your Oven
Preheat your oven to 350°F (175°C). Coat a 9×13-inch baking dish with butter or non-stick spray.
Step 2: Mix the Bottom Layer
- Combine the yellow cake mix, melted butter, and two eggs in a large mixing bowl.
- Mix with a spatula or hand mixer until the batter is thick and smooth.
- Spread the batter evenly into the bottom of the prepared baking pan, creating the base layer.
Step 3: Prepare the Top Layer
- Beat the softened cream cheese and two eggs in a separate bowl until fluffy.
- Add the powdered sugar gradually (1 cup at a time) to avoid clumping.
- Mix in the vanilla extract for added flavor.
Step 4: Assemble the Layers
Pour the cream cheese mixture over the first layer of cake batter in your pan, ensuring it’s evenly distributed.
Step 5: Add Toppings (Optional)
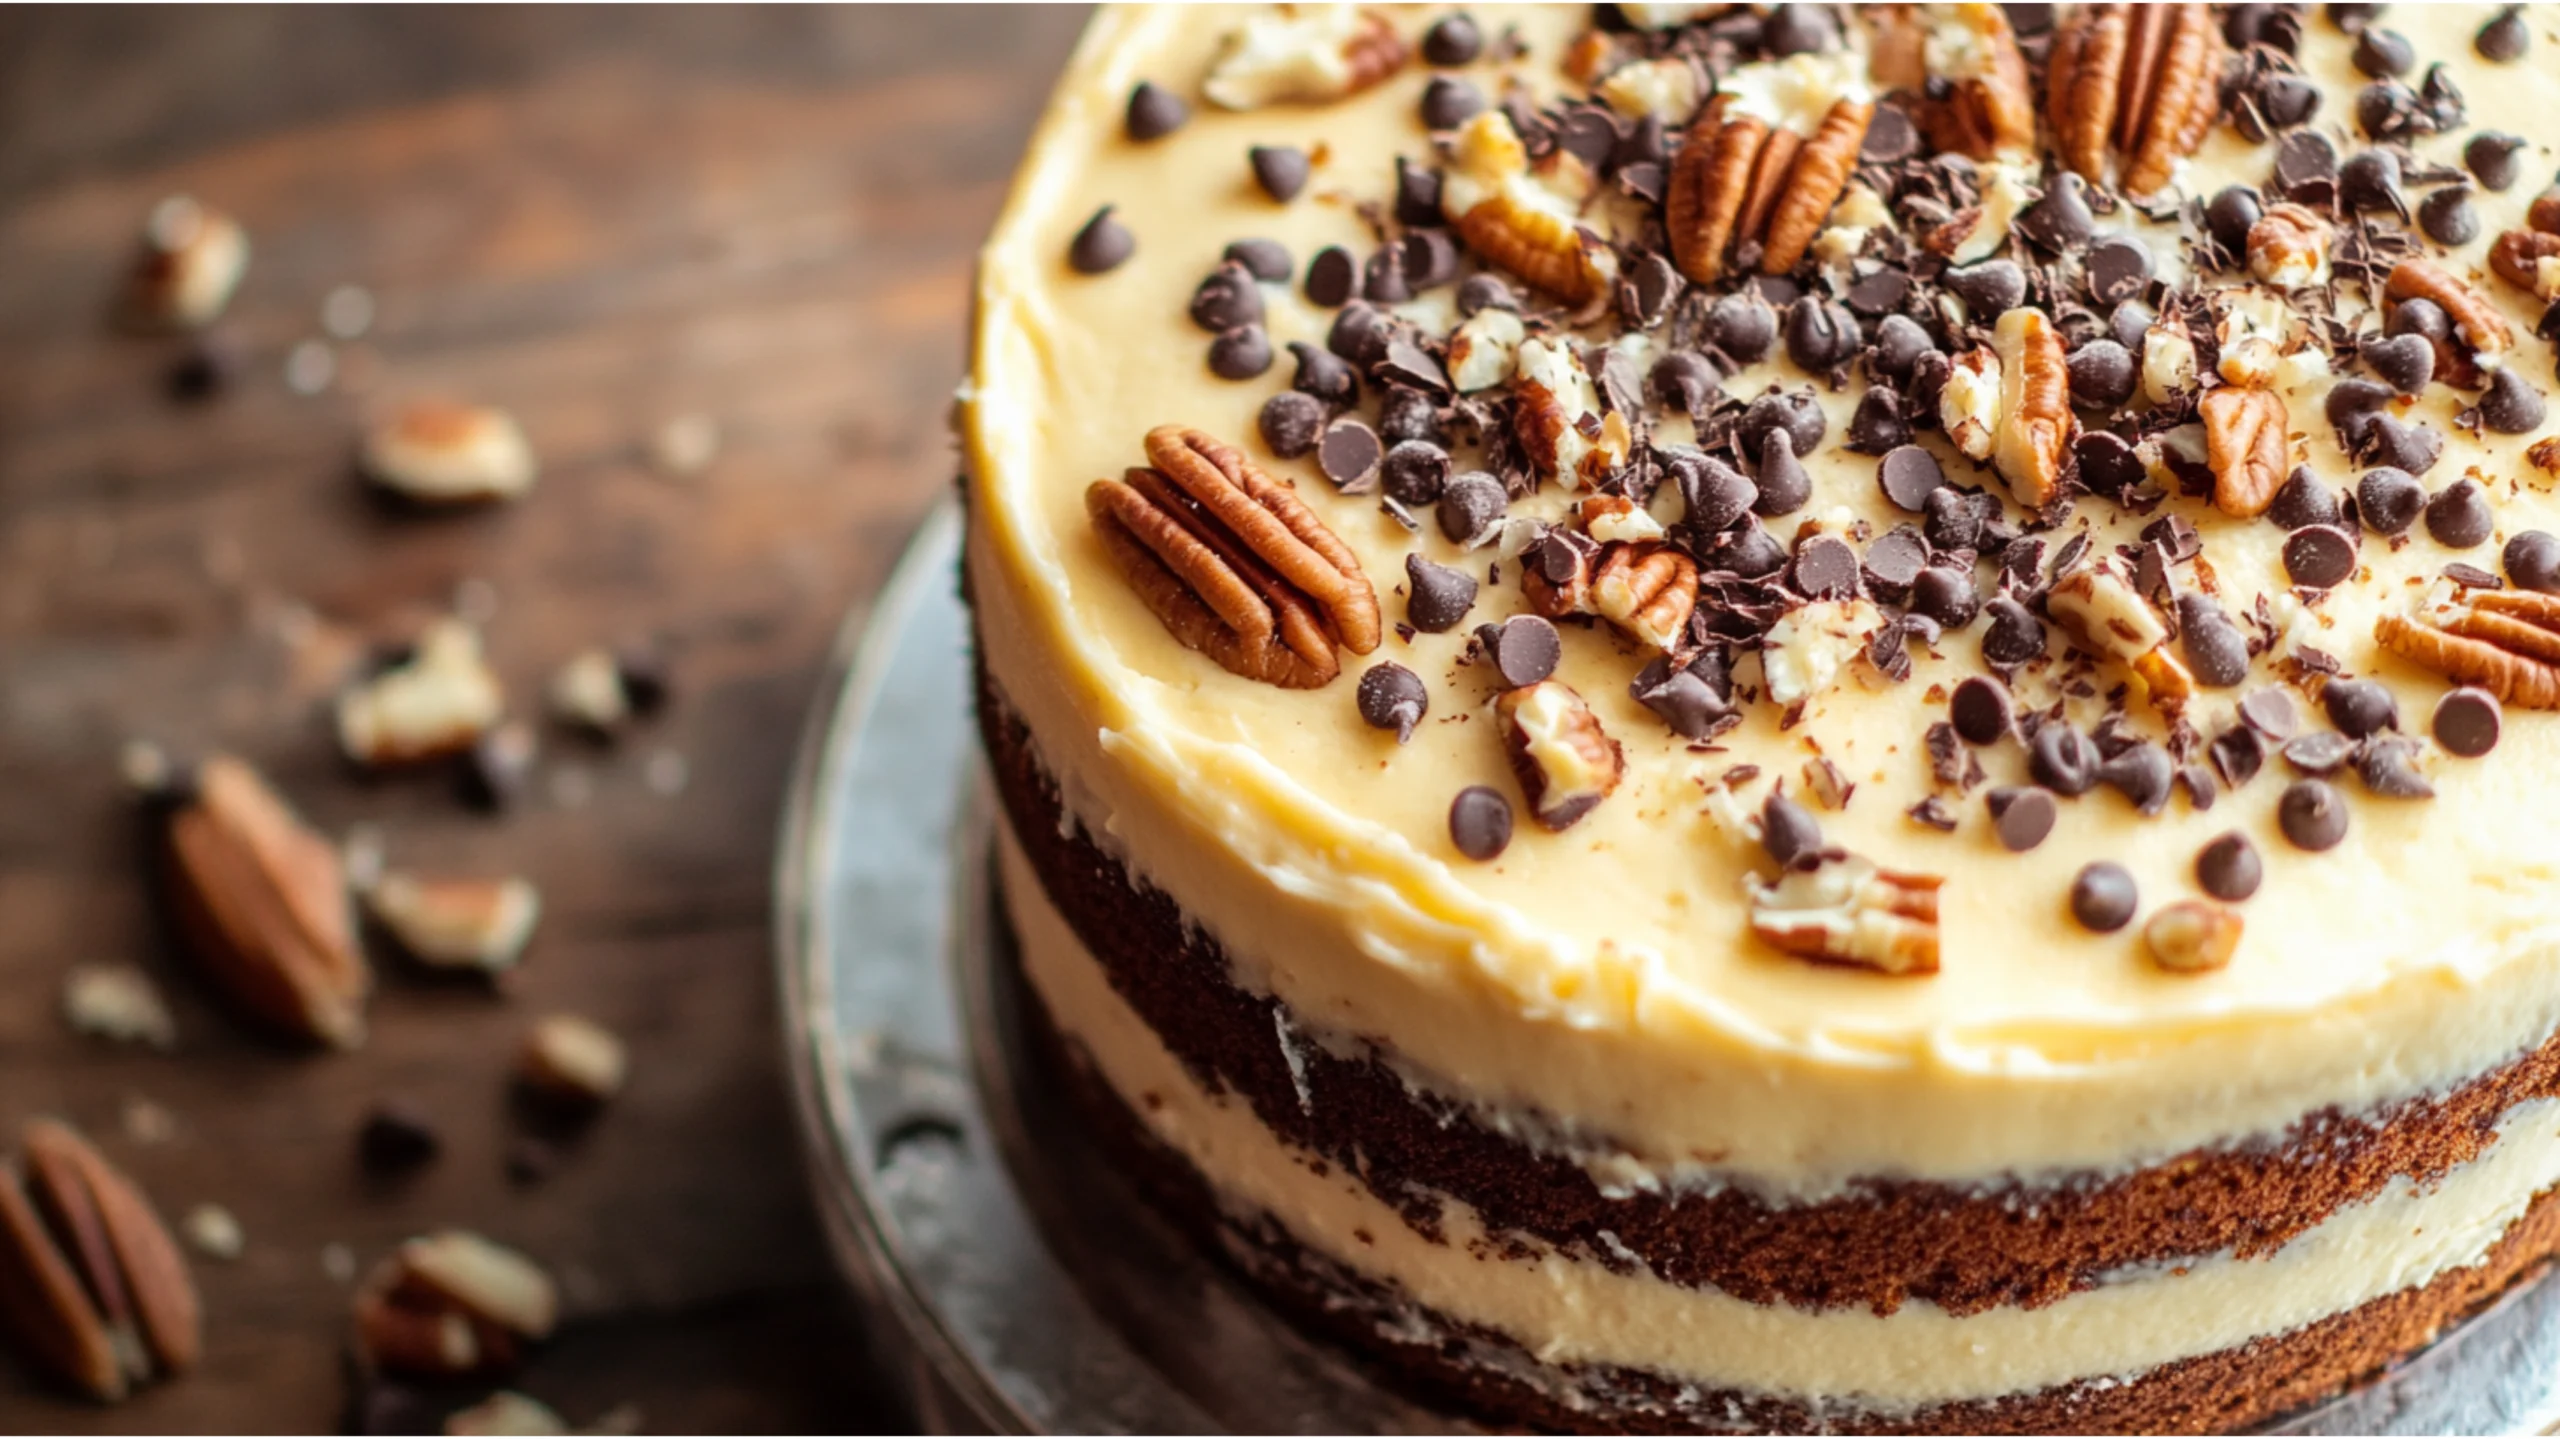
For a holiday twist, add chocolate chips or chopped pecans on top of the cream cheese layer to enhance the texture.
Step 6: Bake the Cake
Place the pan in the oven for 35 minutes. The edges should be golden brown, while the centre remains slightly gooey—don’t overbake!
Step 7: Cool & Serve
Take the cake out of the oven and allow it to cool completely in the pan. Cut into squares or rectangles, then serve and enjoy!
Preparation & Cooking Times, Servings, and Yield
| Prep Time: 15 mins | Cook Time: 35-40 mins | Total Time: 50-55 mins |
| Servings: 12-16 slices | Yield: One 9×13-inch cake |
Cooking Tips
Cook’s Notes
- How to Avoid Clumps: Sift the powdered sugar before adding it to the cream cheese mixture. This ensures a smoother texture.
- Mixing Tip: Don’t overmix the bottom layer; keep its texture thick, almost like cookie dough.
Variations/Substitutions
- Chocolate Lovers: Use a chocolate cake mix instead of a yellow cake mix for the base layer.
- Nut-Free Option: Skip the pecan topping or replace it with shredded coconut.
- Gluten-Free Version: Swap the yellow cake mix with a gluten-free alternative.
- Citrus Twist: Add 1 teaspoon of orange or lemon zest to the top layer for a refreshing contrast.
Equipment Needed
- 9×13-inch baking pan
- Mixing bowls
- Hand or stand mixer
- Rubber spatula
- Measuring cups and spoons
Nutrition & Serving
Nutrition Facts (Per Serving)
| 450 | 22g | 60g | 5g |
| Calories | Fat | Carbs | Protein |
| 320mg | 50g | ||
| Sodium | Sugar |
Serving Suggestions
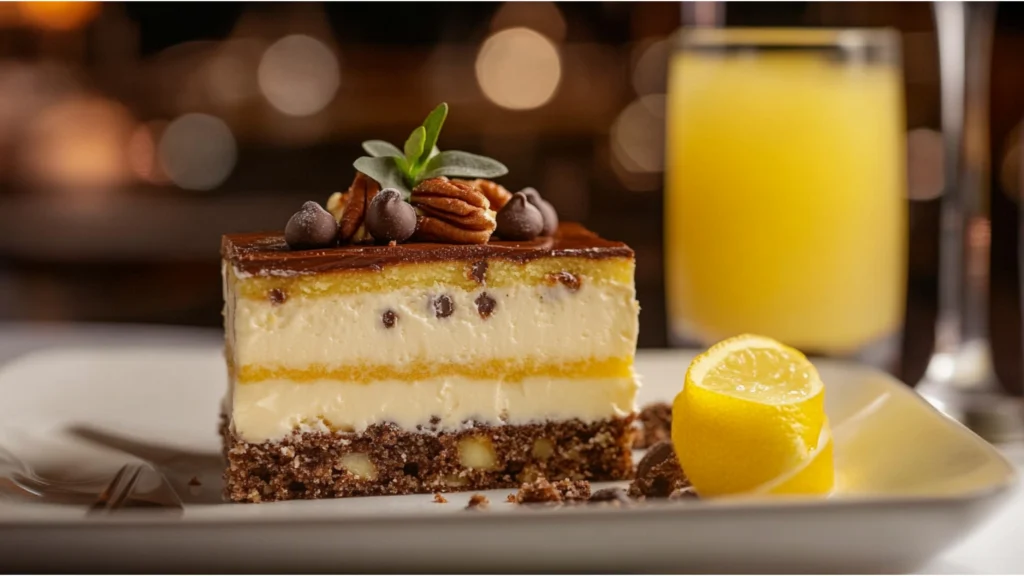
- Pair a slice of Neiman Marcus Cake with a generous dollop of freshly whipped cream or a creamy scoop of vanilla ice cream. The rich, buttery flavours of the Neiman Marcus Cake blend perfectly with the light and airy cream or the smooth ice cream, creating a decadent dessert experience.
- Serve it alongside a steaming cup of coffee, a bold shot of espresso, or even a chilled glass of milk. The warm beverages amplify the cake’s sweetness, while milk offers a refreshing contrast, making every bite even more satisfying.

Final Thoughts
Personal Touch
One of my favourite memories of baking this cake happened at my grandmother’s house during a holiday gathering. The aroma of butter, vanilla, and sugar filling the kitchen was enough to draw the whole family in. It was only a short time after serving that the pan was empty, and this cake became a family favourite.
Share your baking stories in the comments below—I’d love to hear how this cake becomes a part of your special occasions!
Conclusion
The Neiman Marcus Cake is more than just a dessert—it’s a statement. Combining ease of preparation with show-stopping flavours, this cake can steal the spotlight at any event. Whether for a holiday table, a casual get-together, or a simple family dessert, it never fails to impress.
To take your love of baking to the next level, subscribe to our blog for more mouth-watering recipes, expert baking tips, and creative dessert ideas. We’d love to have you join our baking community!
FAQ
How did the Neiman Marcus Cake get its name?
The name’s origins are unclear, but it shares the allure and decadence associated with the luxury of the Neiman Marcus brand.
Can I make this cake ahead of time?
Absolutely! Prepare the cake a day ahead and keep it in an airtight container at room temperature.
How long can I store this cake?
When stored in an airtight container, this cake will remain fresh for up to 5 days at room temperature or up to a week in the refrigerator.
Can I freeze Neiman Marcus Cake?
Yes, for two months. Wrap individual slices tightly in plastic wrap and aluminium foil to lock in freshness.
How can I make this cake even more indulgent?
Drizzle melted chocolate over the top layer for a rich, decadent finishing touch. For a fun twist, add crushed Oreos or your favorite candy to the cream cheese mixture. The possibilities are endless!
Is this cake beginner-friendly?
Definitely! This recipe is simple and foolproof, making it perfect for bakers of all levels.
Dive into this recipe today and experience the magic of creating the best chocolate cake with just a few ingredients. We guarantee it’ll become your go-to dessert for any occasion!

