Table of Contents
Crispy on the outside and juicy on the inside—chicken sticks are the snack you never knew you needed but won’t be able to live without. Whether you’re a foodie, a home cook with a knack for experimentation, or a busy parent looking for a quick and delicious snack for the family, chicken sticks tick all the right boxes.
From breakfast on-the-go to crowd-pleasing appetizers, these versatile chicken-on-a-stick treats bridge the gap between convenience and culinary delight. But here’s the best part—you can easily make them home without compromising flavor or quality.
By the end of this blog, you’ll have a foolproof recipe for homemade chicken sticks and expert tips for customizing them to suit your taste. Plus, if you’re health-conscious or a fitness enthusiast, these sticks offer a range of nutritious benefits you can savor guilt-free.
Introduction
Author Notes
Food has always been a source of joy in my home, drawing everyone together around the flavors we love. Whether a big family dinner or a casual snack, sharing food creates lasting memories and brings us closer. This chicken sticks recipe combines the simplicity of a classic dish with the excitement of something fun and new. Crispy on the outside and tender on the inside, these sticks are perfect for a quick breakfast, a party appetizer, or even a kid-friendly dinner. Its versatility proves there’s always room to get creative in the kitchen, letting you experiment with different dips, seasonings, or sides to make it uniquely yours!
Key Takeaways
- Learn to make crispy, juicy chicken sticks in no time.
- Discover cooking tips, substitutions, and creative variations.
- Uncover nutritional benefits and serving ideas to fit your lifestyle.
Chicken Sticks Recipe Details
Ingredients with Amounts
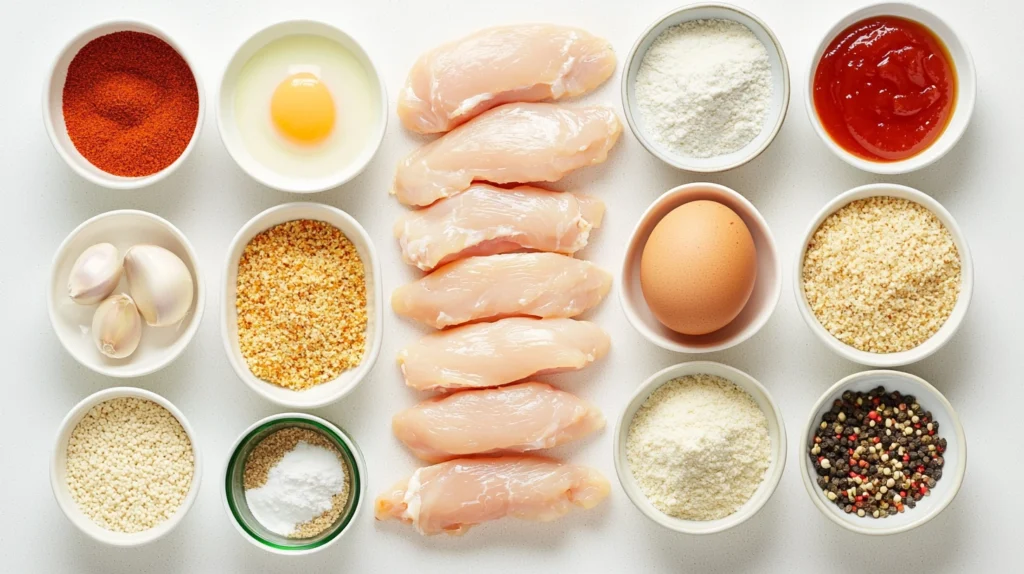
Here’s everything you’ll need for irresistible chicken sticks. You’ll likely have many of these staples in your kitchen already!
For the chicken mixture:
- 500g boneless chicken breast or thighs
- 0.5 cup breadcrumbs (or panko for extra crunch)
- 2 tbsp all-purpose flour
- 1 egg (beaten)
- 0.5 cup parmesan cheese (optional for added flavor)
- 2 tsp garlic powder
- 1 tsp smoked paprika
- 1 tsp salt
- 0.5 tsp black pepper
For coating:
- 1 cup breadcrumbs (panko preferred)
- 2 eggs (beaten)
For frying & serving:
- Vegetable oil (for deep frying or air frying)
- Dipping sauces (ketchup, garlic aioli, or ranch)

Preparation Steps
Follow these simple steps to make a chicken stick like a pro:
Step 1: Prepare the Chicken Mixture
- Start by finely mincing the chicken or pulsing it in a food processor until it reaches a paste-like consistency. Transfer to a large bowl.
Step 2: Mix It Up
- Combine the minced chicken with breadcrumbs, flour, egg, parmesan (if using), garlic powder, paprika, salt, and pepper. Mix until everything’s well incorporated and forms a cohesive mixture.
Step 3: Shape into Sticks
- Take small portions of the mixture and roll them into long, thin stick shapes (about your finger size). Insert skewers gently into each one to reinforce the “chicken-on-a-stick” experience.
Step 4: Coating the Sticks
- Roll each chicken stick in a beaten egg, then coat it generously with breadcrumbs for that golden, crispy crunch.
Step 5: Frying or Air-Frying
- Deep Frying: Heat oil in a deep frying pan to 350°F (175°C). Fry the chicken sticks in small batches until golden brown, about 4–6 minutes.
- Air Frying: Begin by preheating your air fryer to 375°F (190°C) to ensure it’s at the perfect temperature for cooking your chicken sticks evenly and achieving a crispy texture. Brush the sticks lightly with oil and cook for 12–15 minutes, turning halfway through.
Step 6: Drain and Serve
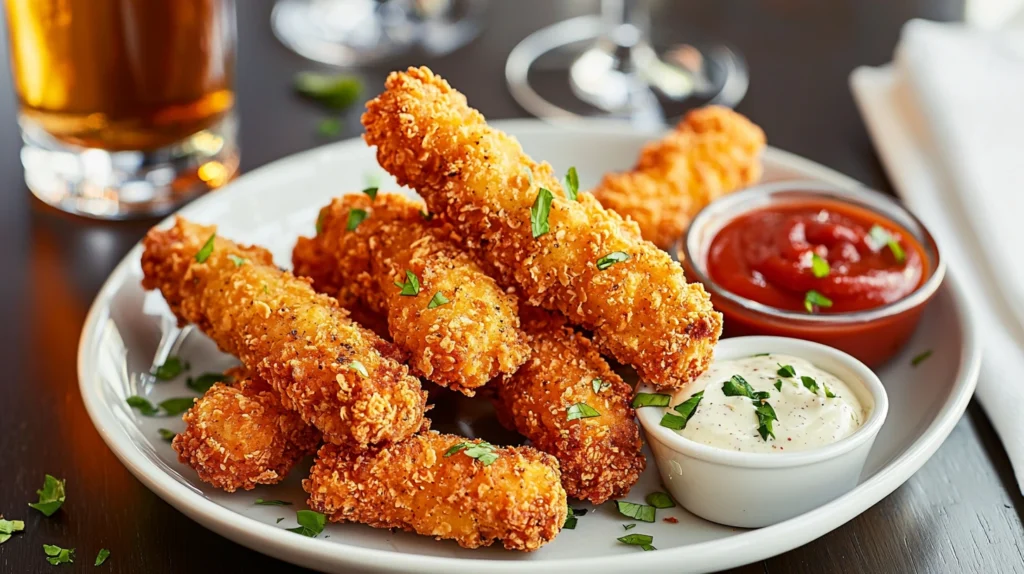
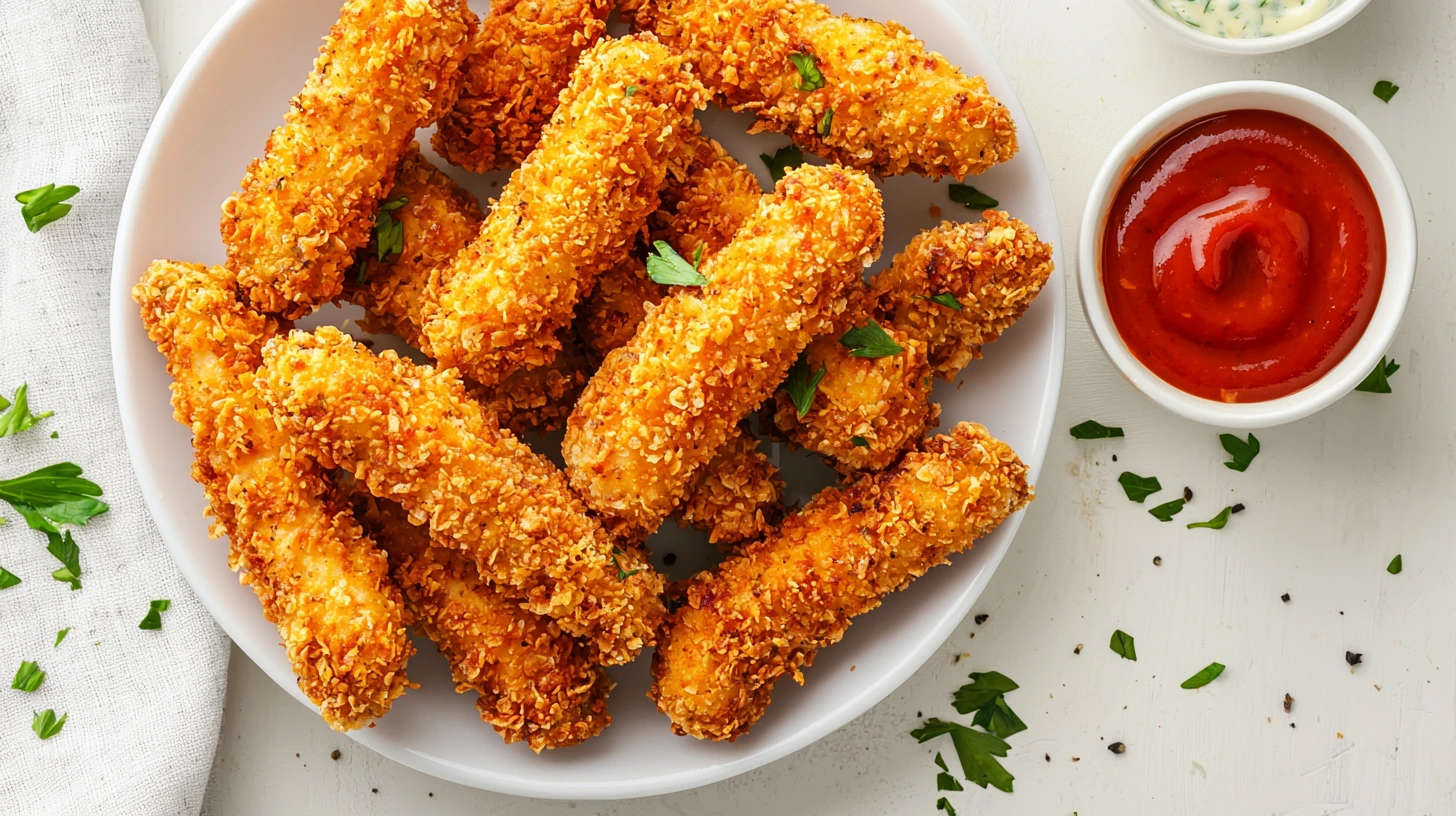
- Transfer the cooked chicken sticks onto a plate lined with paper towels to drain excess oil. Serve piping hot with your favorite dip!
Preparation & Cooking Times, Servings, and Yield
| Prep Time: 20 mins | Cook Time: 15 mins | Total Time: 35 mins |
| Servings: 4 |
Cooking Tips
Cook’s Note
- Want perfectly even cooking? Ensure all chicken sticks are the same size so they cook uniformly. Use slightly damp hands while shaping the mixture to prevent sticking.
Variations/Substitutions
- Low-Carb Option: For a low-carb alternative, substitute almond flour or crushed pork rinds in place of traditional breadcrumbs to maintain a flavorful and crispy coating while keeping the carbs to a minimum.
- Spice It Up: Add red chili flakes or cayenne pepper for an extra kick.
- Vegetarian Twist: Substitute chicken with mashed chickpeas or finely grated paneer for a meat-free version.
- Gluten-Free: Opt for gluten-free breadcrumbs or crushed cornflakes instead.
Equipment Needed
- Food processor
- Mixing bowls
- Skewers
- Baking tray (for air frying) or frying pan (for deep frying)
- Paper towels for draining
Nutrition & Serving
Nutrition Facts (Per Serving)
| 220 | 8g | 10g | 18g |
| Calories | Fat | Carbs | Protein |
Serving Suggestions
Turn your chicken sticks into a full meal! Pair them with a light side salad, sweet potato fries, or roasted vegetables for a balanced dish. They’re also great served as appetizers with dipping sauces like honey mustard, chipotle mayo, or even a tangy yogurt dip.

Final Thoughts
Personal Touch
I can’t describe the joy of seeing smiles around the table when I serve chicken sticks. There’s something special about how everyone leans in, eager to grab their share, and the conversation flows effortlessly as the food disappears. The crispy exterior, perfectly seasoned, combined with the juicy, tender chicken on the inside, creates a balance of flavor that’s impossible to resist. The way something so simple connects flavor, convenience, and a touch of creativity—it’s magic on a plate. Whether it’s a casual weeknight dinner or a fun gathering with friends, chicken sticks never fail to bring people together.
Conclusion
Cooking these delicious chicken sticks is a game-changer for anyone looking to combine taste, convenience, and nutrition. Made with tender, juicy chicken and coated in perfectly crispy breading, they’re guaranteed to satisfy even the pickiest eaters. Kids love their irresistible crunch and flavor, while adults appreciate the recipe’s versatility—it can be customized with different seasonings, dips, or even air-fried for a healthier option. Whether you’re whipping up a quick family dinner, packing a protein-rich snack, or prepping meals for the week, these chicken sticks are an easy win for busy parents, meal preppers, and health enthusiasts alike.
FAQ
Can I use chicken tenders instead of minced chicken?
Absolutely! Chicken breasts or thighs work just as well. Cut them into small, thin strips to cook evenly and adhere to the skewers better. You can also pulse them in a food processor for convenience.
Is it possible to prepare these in advance and warm them up when ready to serve?
While enjoying them fresh and hot is always best, you can store cooked chicken sticks in an airtight container for 2–3 days. To reheat, place them on a baking sheet in a preheated oven at 350°F (175°C) for 5–6 minutes or until heated. Alternatively, you can reheat them in an air fryer for 3–4 minutes at 375°F (190°C).
Can I freeze the chicken sticks for later use?
Yes! Once assembled and coated, place the raw chicken sticks on a baking sheet lined with parchment paper and freeze for about an hour. Afterward, carefully place the chicken sticks into a freezer-safe bag or airtight container, ensuring they are sealed tightly to preserve their freshness and quality during storage. They will last for up to 3 months. To cook from frozen, follow the same instructions but add a few extra minutes to the cooking time.
Can I bake chicken sticks instead of frying or air frying?
Yes! Bake them at 400°F (200°C) for 18–20 minutes on a wire rack set over a baking sheet for even crispy results.
Hungry for more? Subscribe to our newsletter and never miss out on mouth-watering recipes, cooking tips, and foodie inspiration!

